
Table of Contents
After giving your dog a good bath and thorough rinse, the next important step is drying. We always recommend drying your dog completely after they get wet—not just for comfort, but to help maintain healthy skin and coat. Thorough drying helps prevent matting, hot spots, and other skin issues.
👉 Check out our blog on how to bathe your dog at home
👉 Here’s why we urge pet owners to always dry their dogs after they get wet
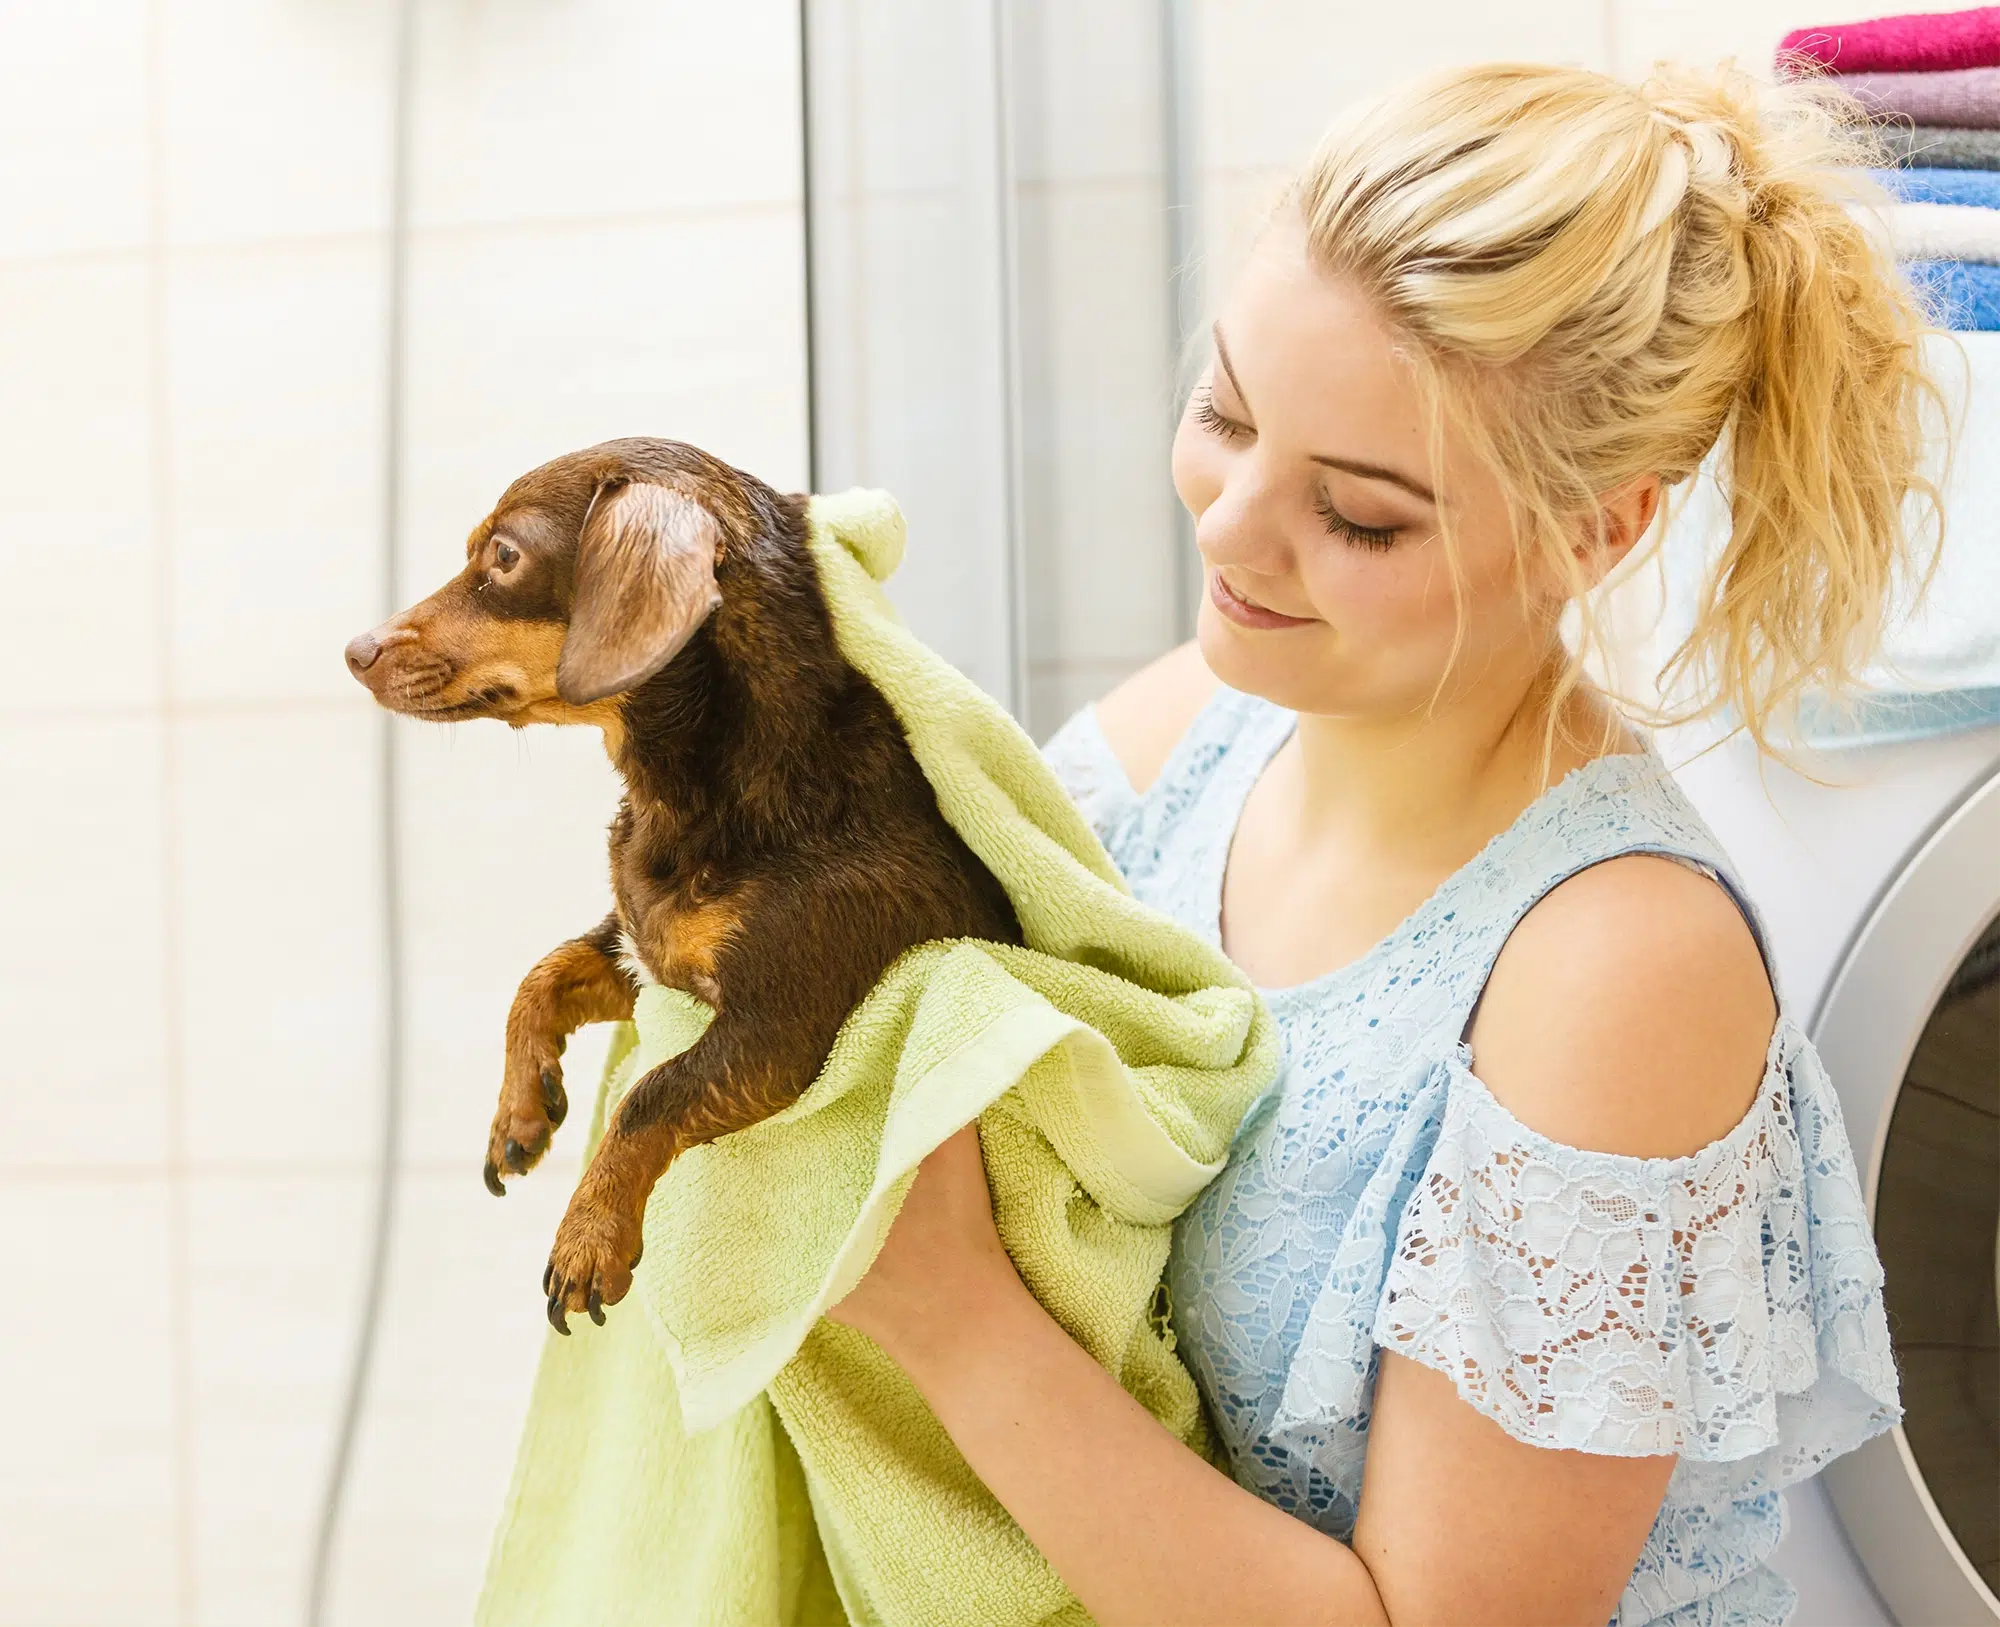
Towel Drying
Start by towel drying your dog thoroughly. Use a large, super absorbent towel to press out as much water as possible—don’t rub, as that can cause tangles and matting, especially in long-haired breeds. Use a blotting or pressing motion and repeat with dry sections of the towel until your dog is mostly damp instead of dripping wet.
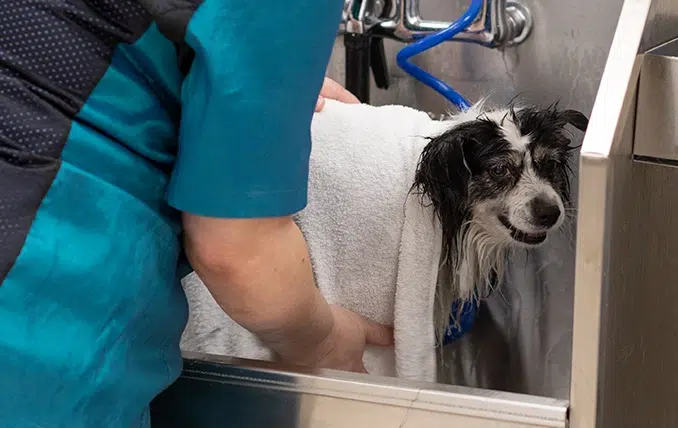
Setting Up for Drying
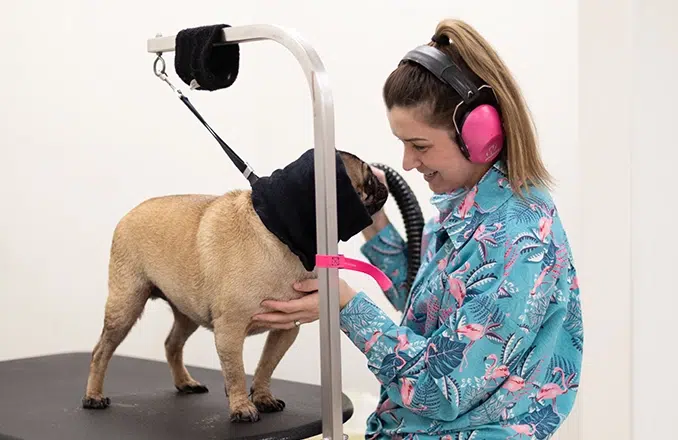
At grooming salons, we use tables designed for comfort and control, but you don’t need professional equipment at home. You can dry your dog on a kitchen table, in your lap, or even while they’re still in the tub—whatever works best for you and keeps your pet comfortable. Choose a well-ventilated area to help the moisture evaporate more efficiently. Less humidity means faster, more effective drying.
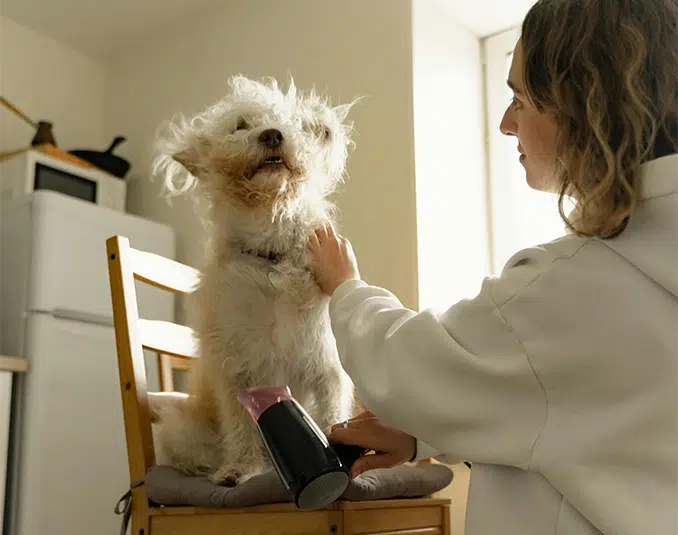
Blow Drying
Once your dog is mostly towel dried, it’s time to bring in the blow dryer. If you don’t have a pet-specific dryer, a regular hair dryer can work—just make sure to keep it on a low or warm setting and avoid using high heat. Dog skin is sensitive, and dryers can get hotter than you think. Keep the nozzle a few inches away from the fur, and never let it sit in one place for too long. If your dryer only has hot or cold settings, stick with cold to be safe.
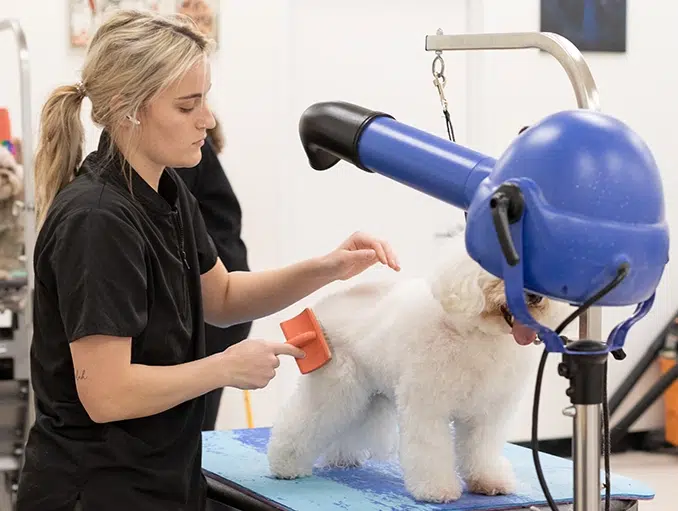
Brushing While Drying
Brushing while you dry helps prevent tangles and speeds up the process. For long-haired dogs, a pin brush works well. A slicker brush with fine wire bristles is another great option. Gently brush in the direction of the hair while drying to keep the coat smooth and fluffy.
👉 Need help picking the right brush? Here’s our guide to brushing at home
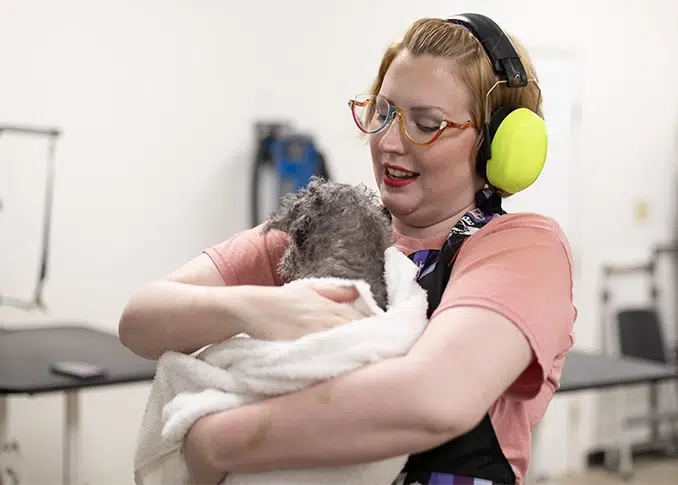
Drying the Face
Drying around the face takes a little extra care. Start by gently blowing some air near the face, then follow up with light brushing once the area is partially dry. Be especially mindful around the eyes—you never want a brush or a blast of air too close to them. Also be mindful not to blow air directly into their nose.
When to Stop Drying
Don’t forget tricky spots like the belly, underarms, and between the toes—those areas tend to stay damp longer. Keep drying and brushing until the coat is soft, dry, and tangle-free. A good test is to turn off the dryer and give your dog a full-body brush-through to check for any remaining wet spots or knots.
How to Avoid “Wet Dog Smell”
That musty “wet dog” smell is usually the result of incomplete drying. At the salon, we prevent it by fully drying dogs right after their bath. Even with the best shampoo and conditioner, letting a dog air dry can still leave behind that funky smell. Fully drying the coat helps eliminate that problem and leaves your dog feeling fresh longer.
Coat Type Matters
If your dog has a thick or double coat, consider wrapping them in a towel burrito-style for a few minutes before blow drying. These coat types hold a lot more moisture and need more time and attention to dry fully. Short or smooth-coated breeds may dry more quickly, but they still benefit from a good towel and blow dry.
Helping Dogs Feel Comfortable
Drying isn’t every dog’s favorite part of grooming, so patience goes a long way. To help your dog get used to the dryer, start slow. Let them see and hear it while it’s off, then gradually introduce it at a distance with cool air and low power. Use treats, praise, and short sessions to make it a more positive experience. The goal is to keep them calm and build their confidence over time.
Other Tools to Consider
Quick-Drying Sprays
These sprays help speed up the drying process and may offer added benefits like detangling or smoothing. Apply after towel drying, avoiding the eyes, and follow the product instructions carefully. Some need a few minutes to set before you start blow-drying.
Happy Hoodies or Towels
Wrapping a towel—or a pet-specific product like a Happy Hoodie—around your dog’s head can reduce noise and offer a calming effect during blow drying.
Drying Bags
Drying bags might seem convenient, but we don’t typically recommend them for home use. While they can reduce mess and be less intimidating for nervous dogs, they also limit movement, which can cause stress, and pose a risk of overheating. They’re also not effective for dogs with thick or long coats.
Anti-Static Spray
Especially helpful in dry climates or for dogs with wiry coats, anti-static spray can tame flyaways and make brushing smoother. Just mist lightly before brushing or drying to reduce static buildup.
Why You Shouldn’t Let Your Dog Air Dry
Letting your dog air dry might seem easy, but it can lead to problems—especially for dogs with longer coats. Wet fur can mat as it dries, trapping moisture close to the skin. This can lead to discomfort, irritation, or even infections like hot spots. Dogs may also roll around to dry themselves, making a mess and spreading that wet dog smell. And during colder months, it’s just not safe for dogs to stay damp for long.
Why Drying at the Grooming Salon Is Better
There’s a reason your dog leaves the grooming salon smelling amazing. Groomers use high-powered, temperature-controlled dryers that dry all layers of the coat—something most home setups can’t match. For sensitive pets, groomers may use kennel dryers or calming tools like Happy Hoodies. They’re also equipped with all the right brushes, tools, and restraints, and they know exactly what each breed’s coat needs. Plus, groomers are trained to handle anxious pets with extra care, making the whole experience safer, faster, and more comfortable for everyone.
